Slitherlink
The objective is to connect horizontally and vertically adjacent dots so that the lines form a simple loop with no loose ends.
In addition, the number inside a square represents how many of its four sides are segments in the loop.
Other types of planar graphs can be used in lieu of the standard grid, with varying numbers of edges per vertex or vertices per polygon.
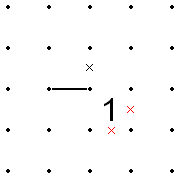
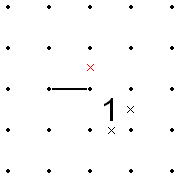
Another useful notation when solving Slitherlink is a ninety degree arc between two adjacent lines, to indicate that exactly one of the two must be filled.
A related notation is a double arc between adjacent lines, indicating that both or neither of the two must be filled.
Recognition of these simple patterns will help greatly in solving Slitherlink puzzles.
In the figure below, the line at the top-left will close off the top-right region of the lattice whether it proceeds down or to the right.
When only one potential line segment in one of these groups is unknown, you can determine whether it is part of the loop or not with this theorem.
A simple strategy to assist in using this theorem is to "paint" (sometimes called "shade") the outside and the inside areas.
If there is a 2 in a corner, and the two non-diagonally adjacent squares are unconstrained, lines can be drawn as shown below.
A game titled Slither Link was published in Japan by Bandai for the Wonderswan portable console in 2000.
